Skip to main content
Search
Search This Blog
Inside the Oldwolf Workshop Studio
Posts
Showing posts from June, 2010
Show all
Posted by
Derek Olson (Oldwolf)
June 27, 2010
Escape to the Bat Cave Boy Wonder!!
Posted by
Derek Olson (Oldwolf)
June 22, 2010
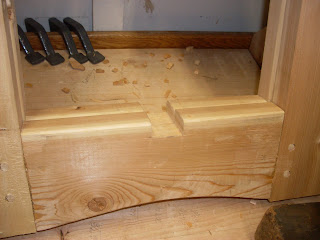
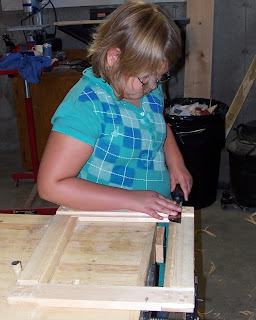
Methods of Work: Mortise and Tenon Joints
Posted by
Derek Olson (Oldwolf)
June 15, 2010
The Drawbore Oddessy
Posted by
Derek Olson (Oldwolf)
June 08, 2010
I'm Not Shaping the Wood, I am Beginning to Shape Myself.
Posted by
Derek Olson (Oldwolf)
June 06, 2010
Doweling Plate
Posted by
Derek Olson (Oldwolf)
June 05, 2010
Looming Deadlines
Posted by
Derek Olson (Oldwolf)
June 01, 2010
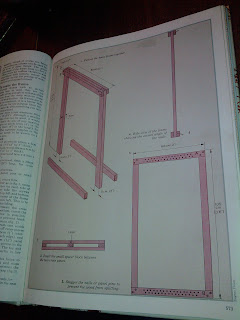
And Lo, There Stood a Loom.
Newer Posts
Older Posts
Home